Tips
Save Netlify build minutes by being mindful of your deploys#
Netlify is the service responsible for building the website whenever you deploy it. Your Netlify plan provides 300 building minutes, per month, free of charge. Since each build may take between 2 to 5 minutes to be completed, depending on how frequently you are deploying you might have to be mindful of your deploys to avoid expending all free minutes.
Before deploying your website, make sure you have created/edited all the documents that you wanted and that everything you want is published. This will save you the time and trouble of making changes shortly after deploying the website and using more minutes than needed on a second deploy.
Always create documents that are going to be referenced before the document that references them#
This lets you save time by avoiding going back and forth between documents.
A good example is if you are going to create a new Product document. A Product must reference at least a Product Type and a Formulation Type (and has a lot more optional references like Active Ingredients, GHS Codes, Resource Files, etc.), so before you start creating the Product, it's useful to make sure that the documents it will reference are already created. This will prevent you from starting to create the Product and having to stop midway a bunch of times because the documents you want to reference don't already exist (although this is not a big deal, you can go create the documents and come back to the Draft Product to finish it afterwards).
Always respect the recommended resolution for images#
This tip is crucial in order to have a good-looking website. Respecting the recommended resolution will prevent the images from appearing pixelated or stretched if you insert an image that is too small, and will prevent the images from using too much space in the backoffice if you insert and image that is too large.
Add multiple images at once to a image gallery#
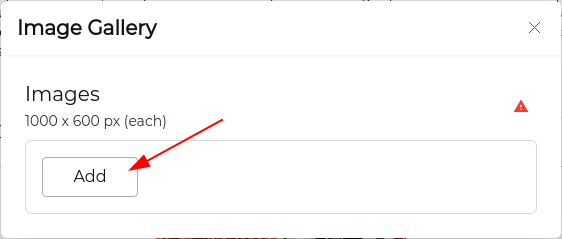
In order to create an Image Gallery more quickly, after you click the Insert Image Gallery icon, you can drag and drop all the images you want at once directly from your computer's folder on top of the Add button.

Go to referenced document from where it is referenced#
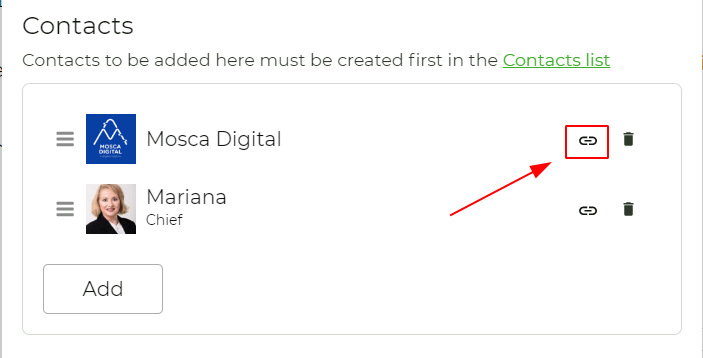
If you want to edit a document from a reference to it(e.g. from a Contact referenced in Teams and Contacts), click on the Icon at the right side of the document field and it will redirect you to that document's editing page.

Use the dashboard to quickly go to the last edited documents#
The Dashboard is your friend. Use it to know which documents have been recently edited and quickly go to them. You can also create documents quickly from there.
Crop images in Pixlr X#
Pixlr is a free and easy to use online photo editor. You can use it to ensure that the images you load in the backoffice are cropped as you want, have the recommended size and format, and have enough quality to look good but not so much that it wastes space in the backoffice and your user's Internet bandwidth.
To use this tool go to https://pixlr.com/x/ and follow the steps:
Open the image you want to crop;
- Be sure to choose one with a resolution at least as large as the recommended one.
- If a window appears saying your image is too large and asking you to resize it, choose the Full HD option if your image's recommended resolution width is larger than 1280px (probably only if it's an image for the Slides Section) or the Web option for any other purpose. Click on Apply.
Choose the Crop option on the left;
Turn on the Select Aspect toggle;
Click on Size;
Fill the Width and Height fields with the recommended dimensions;
Drag the cropping area to capture the part of the image you want to keep after cropping;
Click on Save;
Hopefully the File type should be already correct, but you should check it: if your image is a photo, you should pick JPG; if your image is computer generated (e.g. a logo), you should pick PNG;
If your image is JPG, there is a Quality field where you should be very mindful of the percentage you choose, because the higher the quality percentage of your image is, the heavier it gets (more space used in the backoffice and the more user's bandwidth wasted when he opens a page with your image).
We recommend that you download the image with a Medium Quality and a High Quality and compare both. If the one with the Medium Quality looks as good and the High Quality, we suggest you prefer the Medium one. Otherwise it depends on the context where you are inserting your image (e.g. an image used as a section background behind a colored overlay needs much less quality than an image used as the first slide in the homepage).
The aim is to reduce the weight of the image as much as possible, while keeping the quality within acceptable limits.
Download the image;